Road bike saddle height: how to set it at home
Saddle height is the single most important number on your bike. Get it roughly right and most knee pain never starts. Here is how to set it with a tape measure, a book and 15 minutes.
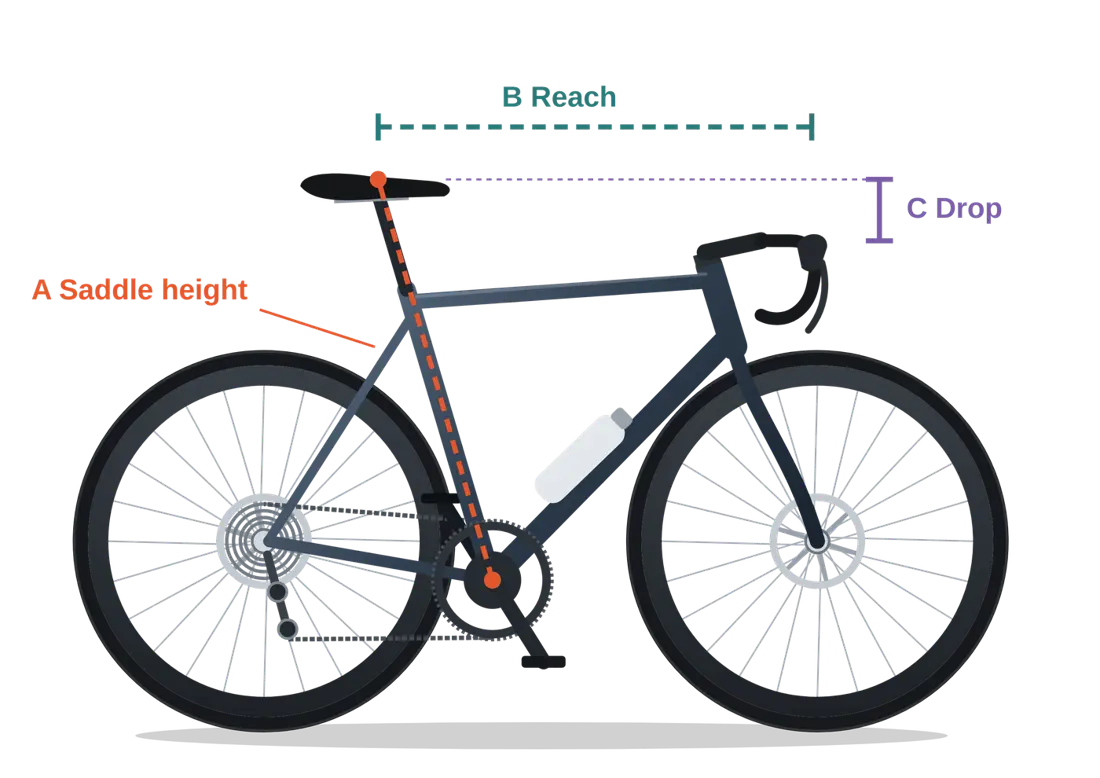
Multiply your inseam (in cm) by 0.883. That is your saddle height, measured from the centre of the bottom bracket to the top of the saddle. An 84 cm inseam gives 74.2 cm. Then check it on the bike: with your foot on the pedal at the bottom of the stroke, your knee should be bent about 25–35 degrees.
What you need
- A metal tape measure
- A hardback book and a wall
- The Allen key that fits your seatpost clamp
- Masking tape or a marker
- A phone, to film yourself later
1. Measure your inseam
- Stand barefoot against a wallFeet about 15 cm apart, back flat against the wall.
- Press a book up between your legsHold a hardback book spine-up and push it firmly up, the way a saddle would press.
- Mark and measureMark the wall at the top of the book and measure from the floor to the mark.
- Do it twiceMeasure a second time and use the average. A centimetre here is almost a centimetre on the saddle.
2. Work out your number
This is the LeMond formula, popularised in the 1980s by three-time Tour de France winner Greg LeMond. It is an average, so treat the result as a starting point, not a final answer. Foot length, flexibility and shoe thickness all shift the ideal height a little.
Saddle height chart
Find your inseam. Column A uses the 0.883 formula. Column B is the 109% method (from the pedal axle, crank pointing down along the seat tube) and makes a good cross-check.
| Inseam | A: bottom bracket to saddle top | B: pedal axle to saddle top |
|---|---|---|
| 70 cm | 61.8 cm | 76.3 cm |
| 72 cm | 63.6 cm | 78.5 cm |
| 74 cm | 65.3 cm | 80.7 cm |
| 76 cm | 67.1 cm | 82.8 cm |
| 78 cm | 68.9 cm | 85.0 cm |
| 80 cm | 70.6 cm | 87.2 cm |
| 82 cm | 72.4 cm | 89.4 cm |
| 84 cm | 74.2 cm | 91.6 cm |
| 86 cm | 75.9 cm | 93.7 cm |
| 88 cm | 77.7 cm | 95.9 cm |
| 90 cm | 79.5 cm | 98.1 cm |
| 92 cm | 81.2 cm | 100.3 cm |
| 94 cm | 83.0 cm | 102.5 cm |
| 96 cm | 84.8 cm | 104.6 cm |
Odd inseam? Multiply it by 0.883 (A) or 1.09 (B), or take the average of the rows either side.
3. Set the saddle
- Mark where you are nowWrap tape around the seatpost at the frame. If you need to go back, you can.
- Loosen the clamp and move the postMeasure from the centre of the bottom bracket along the seat tube to the top of the saddle, in line with where you sit.
- Keep the saddle straightLine the saddle nose up with the top tube before you tighten.
- Tighten to the torque printed on the clampUsually 5–7 Nm. Too tight can crack a carbon post.
Every seatpost has a "min insert" line. It must stay hidden inside the frame. If your number puts the line above the frame, you need a longer post or a bigger frame.
4. Check it with the heel test
Put the bike on a trainer or lean against a wall. Sit on the saddle and pedal backwards with your heels on the pedals. At the bottom of the stroke your leg should be just straight, and your hips should stay level, not rocking. When you then pedal normally on the ball of your foot, that leaves the right slight bend.
5. Confirm the knee angle on video
Film yourself from the side while pedalling in your normal shoes. Pause at the bottom of the stroke and measure the angle at your knee with a free protractor app. Aim for a bend of about 25–35 degrees from straight.
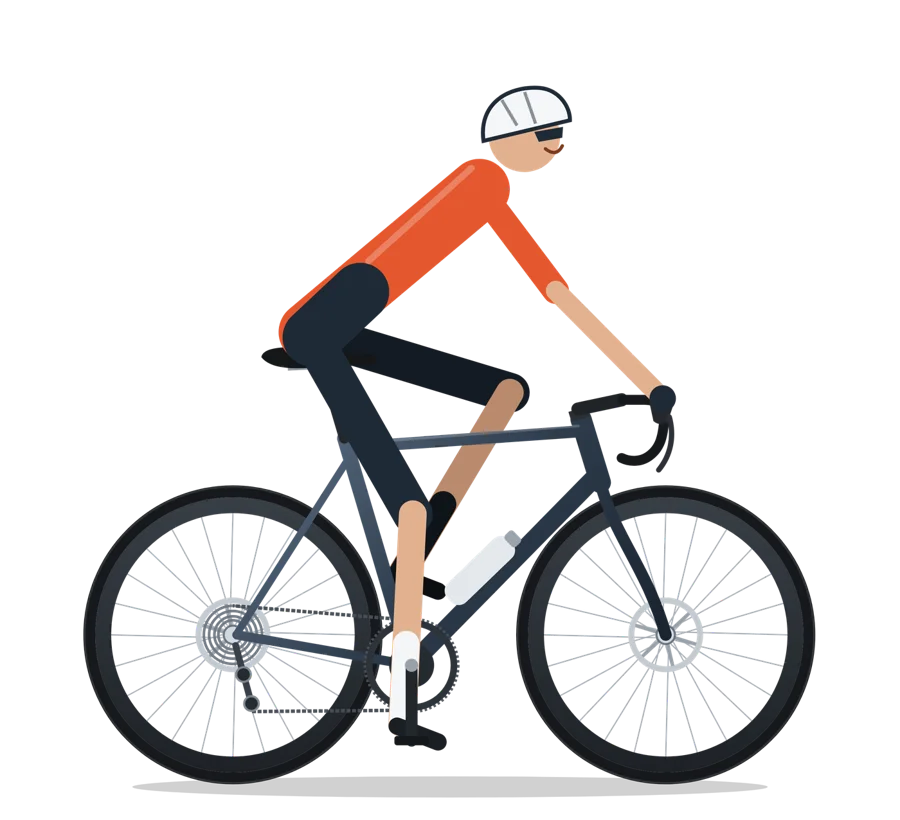
Bike fitters most often use the static "Holmes" range of 25–35 degrees of knee bend at the bottom of the stroke. One study found the popular 109% method often put riders outside that range, which is why the video check matters.
Summary in Cycling Weekly.
Too high or too low? The warning signs
| Saddle too low | Saddle too high | |
|---|---|---|
| How it feels | Pushing a heavy gear, thighs burn quickly | Reaching for the pedals, toes pointing down |
| What you see | Knees come up high and bend a lot | Hips rock side to side on the saddle |
| Where it hurts | Front of the knee | Back of the knee, sometimes the lower back |
| First fix | Raise 3–5 mm | Lower 3–5 mm |
Fine-tune in small steps
- Change one thing at a time, in 3–5 mm steps.
- Ride two or three times before you judge a change. The first ride after any change feels odd.
- New shoes, cleats or pedals? Re-check the height: thicker soles effectively raise your foot.
- Write your numbers down so you can set up any bike the same way.
If your leg is completely straight at the bottom of the stroke when you pedal normally, the saddle is too high. That is a common cause of pain behind the knee and a rocking pelvis.
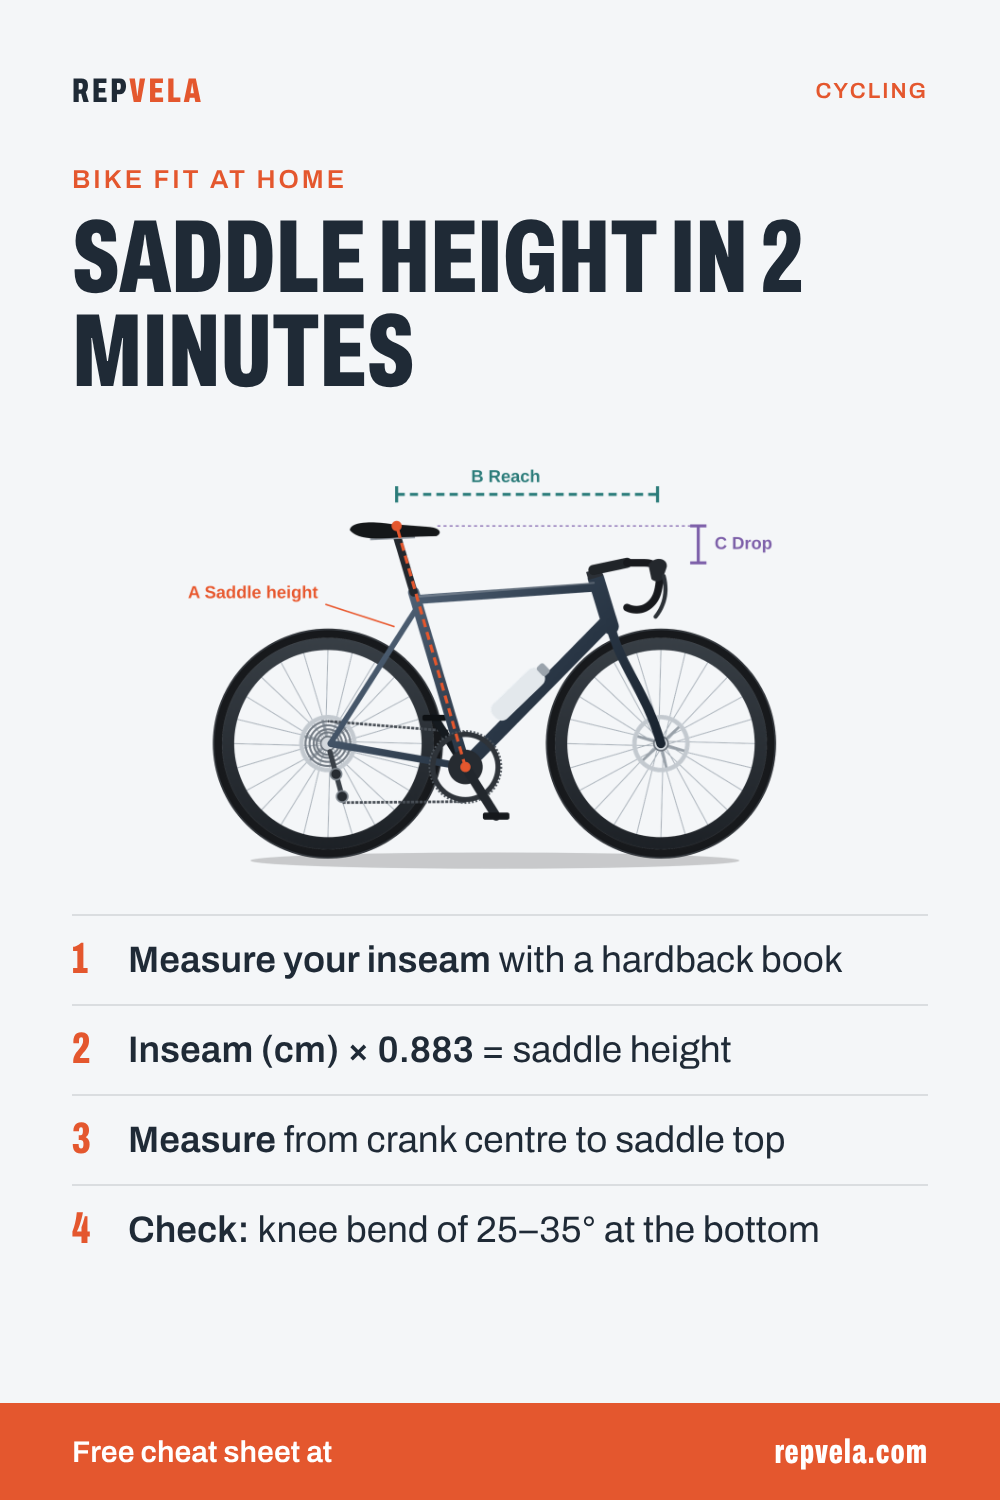
The whole method on one image: inseam, the 0.883 formula and the knee-bend check.
Save to PinterestSet Up Your Road Bike
Saddle height is step 3 of 7. The full guide takes you through the rest of your setup in order, with measurements, photos of what right looks like and a fit record to fill in.
Questions beginners ask
Should my leg be straight at the bottom of the pedal stroke?
No. When you pedal normally, your knee should still be bent about 25–35 degrees at the bottom. A straight leg means the saddle is too high.
Is the LeMond 0.883 formula accurate?
It is a good average and a safe starting point. Long feet, stiff hamstrings or thick-soled shoes can shift your ideal height by a few millimetres, which is why you confirm it with the heel test and the knee angle.
How do I know if my saddle is too high?
Your hips rock from side to side, your toes point down to reach the pedal, and you may get pain at the back of the knee. Lower the saddle 3–5 mm and ride again.
How do I know if my saddle is too low?
You feel like you are always pushing a heavy gear, your knees come up high, and you may get pain at the front of the knee. Raise it 3–5 mm.
Do I need a professional bike fit?
Not to start. Most beginners get comfortable with a careful home setup. See a professional fitter if pain continues after you have adjusted the basics, or if you have an old injury.
More beginner tips
Sources
- Hamley EJ, Thomas V. Physiological and postural factors in the calibration of the bicycle ergometer. Journal of Physiology, 1967 (origin of the 109% method).
- The physio and bike fitter's guide to setting your saddle height, Cycling Weekly (Holmes 25–35° range and accuracy of formula methods).
- Repvela, Set Up Your Road Bike: The Beginner's Guide, step 3 and troubleshooting chart.
This article is general information for healthy beginners, not medical advice. If something hurts sharply, keeps getting worse or does not settle, see a doctor or physiotherapist.